
From Builder-Grade to Beautiful: A Guide to Interior Painting and Sheetrock Repair
Moving into a new home is an exciting milestone. But after the boxes are unpacked, many homeowners in the Raleigh area look at their walls and see a blank canvas of standard, builder-grade paint. It’s functional, but it lacks personality. Worse yet, you might notice the small dings, scuffs, and nail holes left behind from the move. Before you can add that perfect splash of color, you need a flawless surface. That’s where professional interior painting and expert sheetrock repair come together to truly transform your space.
At Clear Image Painting & Cleaning, we believe that a beautiful paint job is about more than just color—it’s about meticulous preparation and a commitment to quality. This guide will walk you through the essential steps of refreshing your home’s interior, from fixing imperfections to choosing the perfect finish, so you can turn your new house into a home you love.
The Foundation of a Flawless Finish: Why Sheetrock Repair is Non-Negotiable
Have you ever tried to paint over a small dent or a hairline crack, only to find that the new paint seems to highlight the imperfection even more? It’s a common frustration. A pristine paint finish is only as good as the surface beneath it. This is why professional sheetrock repair is the critical first step in any high-quality interior painting project.
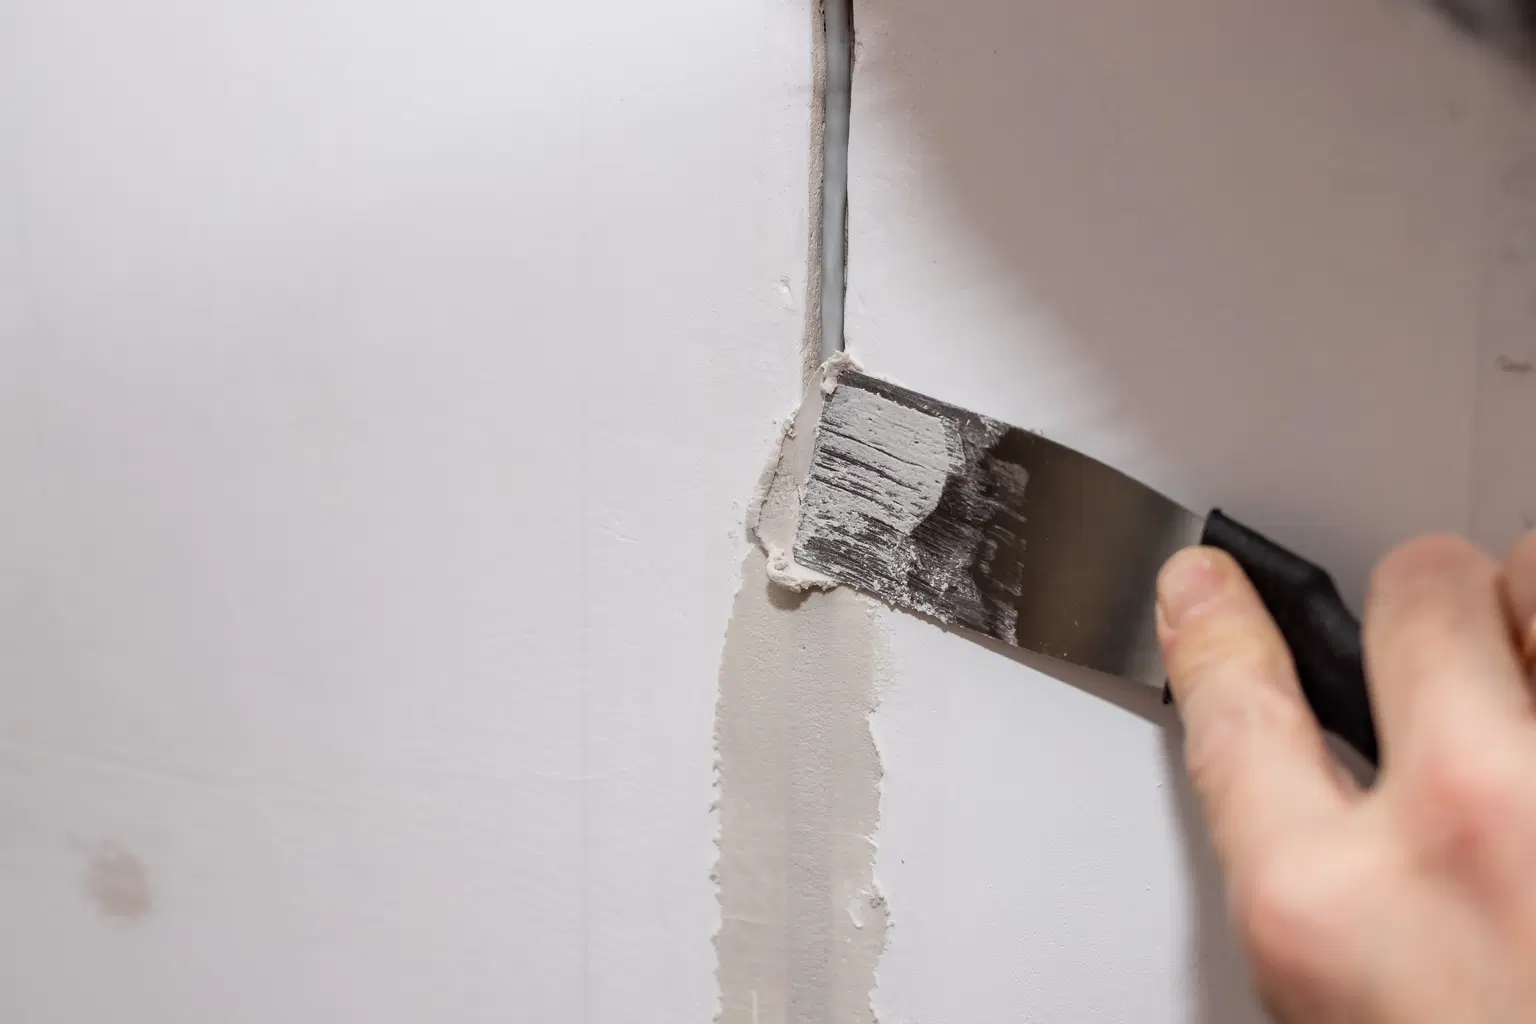
Our process goes far beyond a simple dab of spackle. We address common wall issues to create a perfectly smooth canvas:
- Patching Holes and Dents: From tiny nail pops to larger dings from moving furniture, we carefully patch, sand, and feather the repaired area to blend seamlessly with the surrounding wall.
- Repairing Cracks: We address stress cracks that can appear over time, ensuring they are properly secured and filled so they don’t return.
- Sanding and Priming: After the repairs are made, we sand the surface to a smooth, uniform finish. Applying a coat of primer over the repaired spots is crucial. This step, called “spot priming,” ensures that the new paint will absorb evenly, preventing any flashing or dull spots in the final coat.
By investing in proper wall preparation, you guarantee that your new paint color will look its absolute best, providing a durable and professional finish that lasts for years. It’s this attention to detail that sets a professional job apart.
Choosing the Right Paint and Sheen for Your Lifestyle
Once your walls are perfectly prepped, it’s time for the fun part: choosing your paint. One of the most common questions we get from homeowners is about which quality and sheen of paint to use. The answer depends on the room and how you use it.
Paint Quality: We always recommend using high-quality paints. While they may cost a bit more upfront, they provide better coverage, superior durability, and a richer color. They are also more washable, which is a must for families with children or pets. Today, many top-tier paints are low-VOC or zero-VOC (Volatile Organic Compounds), which means fewer odors and better indoor air quality for your family—a trend we fully support for a healthier home.
Understanding Sheens: The paint’s sheen, or finish, affects both its appearance and its durability.
- Flat or Matte: This finish has no shine and is excellent at hiding minor surface imperfections. It’s best for low-traffic areas like ceilings, formal dining rooms, and adult bedrooms.
- Eggshell or Satin: With a slight sheen, these are the most popular choices for interior walls. They are more durable and easier to clean than flat finishes, making them perfect for living rooms, hallways, and kids' bedrooms.
- Semi-Gloss: This finish is shiny, durable, and moisture-resistant. It’s the ideal choice for trim, doors, cabinets, and high-moisture areas like bathrooms and kitchens.
Our team can help you select the perfect combination of quality and sheen to match your vision and the demands of your household.

The Professional Prep Process: What to Expect
We understand that having painters in your home can feel disruptive. That’s why we prioritize a clean, efficient, and respectful process from start to finish. Another question we often hear is, “What do I need to do to prepare for your team?” The answer is: not much! We handle the heavy lifting so y'all can relax.
Here’s what our standard preparation looks like:
- Protecting Your Belongings: We ask that you remove small, fragile, or personal items from the rooms being painted. Our team will then carefully move all heavy furniture to the center of the room and cover it completely with clean plastic sheeting.
- Covering All Surfaces: We use drop cloths to protect your floors and mask off all baseboards, window frames, and door trim with painter's tape to ensure sharp, clean lines.
- Final Wall Prep: We remove all outlet covers and switch plates and perform a final wipe-down of the walls to ensure they are free of dust before the first coat of paint is applied.
Our goal is to make the experience as seamless as possible. When we’re finished, we clean up thoroughly, move your furniture back into place, and leave you with nothing but a beautifully transformed room.
Ready to Refresh Your Home?
A fresh coat of paint is one of the most effective ways to personalize your space and make a house truly feel like your own. It all starts with a perfectly prepared surface and a commitment to quality. From meticulous sheetrock repairs to the final brushstroke of a vibrant new color, our team is dedicated to exceeding your expectations.
If you’re ready to say goodbye to builder-grade beige and hello to a home that reflects your style, we’re here to help. Contact Clear Image Painting & Cleaning today for a free, no-obligation estimate for your interior painting project in the Raleigh area. Let us bring your vision to life.